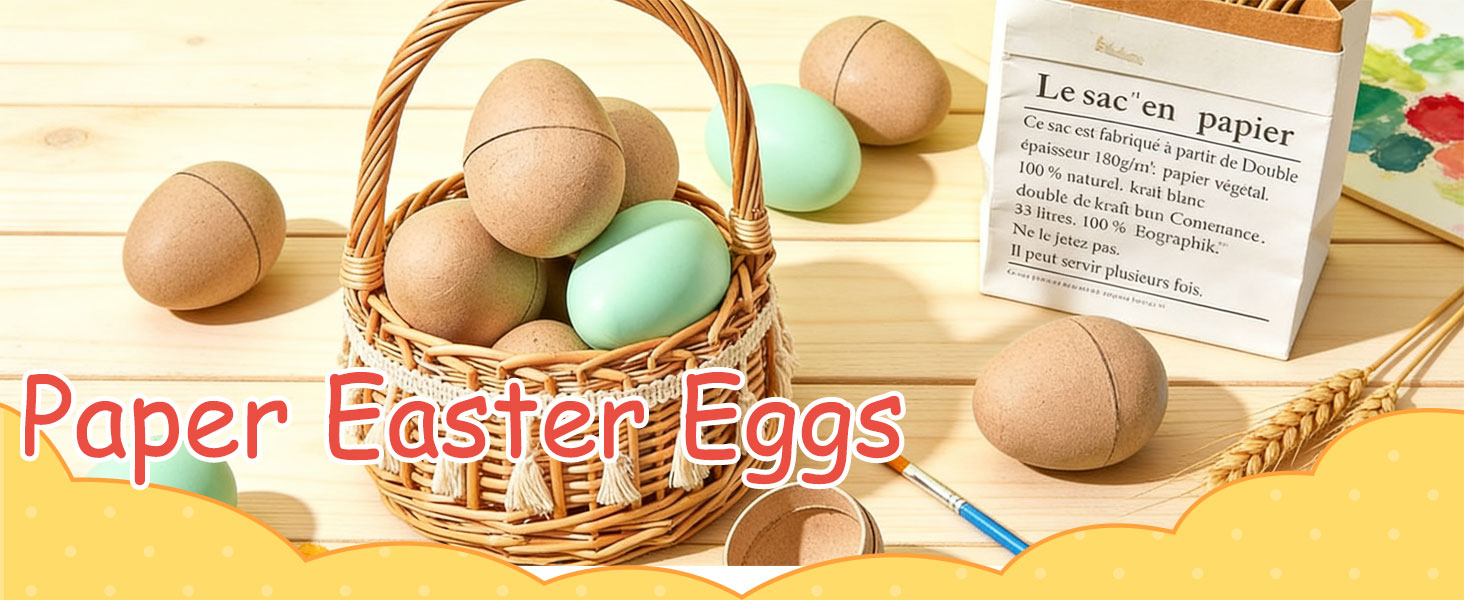
Paper Mache Eggs: A Creative Guide to Paintable Easter Crafts
Paper mache eggs are one of the most versatile Easter eggs for crafts because they offer a smooth, lightweight surface that is ready for almost any creative idea. Whether you are planning a family afternoon of painting, preparing a classroom project, or designing handmade decorations for your home, paintable Easter eggs give you the freedom to experiment without worrying about fragile real shells. They can be layered, sanded, primed, painted, sealed, and displayed year after year, making them a smart choice for crafters of all ages.
Unlike plastic eggs that often resist paint or real eggs that crack easily, paper mache eggs are designed to be transformed. They accept acrylic paint, markers, decoupage, glitter, and even simple carving techniques. The result is a blank canvas with a satisfying shape and a handmade charm that fits perfectly with spring celebrations.
Why Choose Paper Mache Eggs for Easter Crafts?
Paper mache eggs are lightweight, affordable, and forgiving. If you make a mistake while painting, you can usually paint over it or sand it gently once dry. They are also durable enough for hanging, table centerpieces, basket fillers, and egg hunts where the goal is decoration rather than hiding candy. For families, this makes them especially appealing: children can handle them without the pressure of working with something breakable.
A paintable Easter egg is not just a craft supply. It is a small invitation to slow down, mix colors, and make something personal.
Another advantage is that paper mache eggs can be reused. If you grow tired of one design, you can repaint them or add new embellishments. This makes them a sustainable alternative to disposable decorations and a wonderful way to build a collection of handmade Easter treasures.
Gather Your Supplies Before You Begin
Before you start painting, set up a workspace that protects your table and keeps supplies within reach. A few basic materials will make the process smoother and more enjoyable.
- Paper mache eggs in the sizes you prefer
- Acrylic paint in spring colors, metallics, and neutrals
- Fine sandpaper or a sanding sponge
- White primer or gesso
- Paintbrushes in several sizes, including detail brushes
- Paper towels, water cups, and a palette
- Clear acrylic sealer or matte varnish
- Optional decorations: markers, glitter, decoupage paper, ribbons, and twine
Keep in mind that paper mache eggs may have a slightly textured surface. A light sanding and a coat of primer can make them much easier to paint, especially if you want crisp lines or detailed patterns.
Step-by-Step: From Blank Shell to Finished Egg
1. Prepare the Work Area
Cover your table with newspaper or a washable craft mat. Set out supplies in small trays so children and adults can reach them easily. If you are working with very young crafters, use washable acrylic paint and keep a damp cloth nearby for quick cleanups.
2. Build Smooth, Durable Layers
If you are making paper mache eggs from scratch, apply several thin layers of paste and paper, allowing each layer to dry completely. Thin layers create a stronger, smoother egg than one thick layer. If you are starting with pre-made paintable Easter eggs, inspect them for rough spots and lightly sand those areas before priming.
3. Dry and Sand Carefully
Patience matters here. Drying time affects the final finish, so let each coat dry thoroughly. Once the egg is completely dry, sand it gently with fine sandpaper. Wipe away dust with a soft cloth or a slightly damp paper towel, then let the surface dry again.
4. Prime for Paintable Easter Eggs
A primer or gesso creates a consistent base and helps paint adhere evenly. Apply one or two thin coats, following the product directions. White primer is a good choice for bright pastel designs, while a neutral gray primer can help metallic and dark colors appear richer.
5. Paint, Seal, and Display
Now comes the fun part. Paint with broad strokes, tiny details, or a combination of both. Let the paint dry between colors to avoid smudging. Once your design is complete, apply a clear sealer to protect the surface from dust and handling. A matte finish looks soft and natural, while a satin or gloss finish adds a polished shine.
Painting Ideas That Make Each Egg Unique
One of the best things about paper mache eggs is that they suit nearly every style. Try a few of these ideas, or mix them together for a collection that feels playful and varied.
- Pastel ombre: Blend light pink, mint, yellow, and lavender for a soft spring look.
- Geometric patterns: Use painter’s tape to create stripes, triangles, and color-blocked sections.
- Botanical details: Paint tiny leaves, wildflowers, or simple stems with a fine brush.
- Metallic accents: Add gold or silver bands, dots, or speckles for a festive finish.
- Decoupage: Apply torn tissue paper or printed napkins for a layered, textured effect.
- Faces and characters: Let children turn eggs into animals, silly characters, or storybook figures.
Playful Designs for Kids
Children often enjoy bold colors, simple shapes, and plenty of glitter. Set up stations with stickers, cotton swabs for dot painting, and washable markers. Encourage them to experiment rather than aim for perfection. Eggs with mismatched stripes and happy faces often become the most treasured decorations.
Elegant Designs for Grown-Up Crafters
For a more refined look, choose a limited color palette and repeat a simple motif. Thin gold lines, delicate leaf patterns, and matte pastel eggs can look beautiful in a bowl or on a spring table. Consider painting a set of eggs in coordinating colors and displaying them with natural elements such as moss, twigs, or small nests.
Crafting with Children: Simple Tips for Happy Messes
Crafting with kids is more enjoyable when the setup is simple and the expectations are flexible. Try these practical tips to keep the project fun and manageable.
- Use a plastic tablecloth or large sheet of kraft paper.
- Pour small amounts of paint into shallow cups to prevent spills.
- Provide aprons or old shirts for younger children.
- Keep a damp cloth nearby for hands and brushes.
- Let each child choose two or three colors to avoid muddy mixtures.
- Set eggs on bottle caps or small cups while drying.
Remember that the process matters more than the final product. A slightly wobbly stripe or a fingerprint in the paint can become part of the charm.
Finishing Touches and Long-Term Storage
Once your Easter eggs for crafts are fully dry and sealed, you can add ribbons, twine, small labels, or hanging loops. Store them in a sturdy box with tissue paper between layers to prevent scratches. Keep them away from damp areas, and avoid stacking heavy objects on top. With a little care, your paintable Easter eggs can be enjoyed for many seasons.
Make This Easter Personal
Paper mache eggs offer a rare combination of simplicity and creative freedom. They are sturdy enough for children, elegant enough for display, and adaptable enough for any artistic idea. Whether you paint a single egg or an entire basket, the handmade result will feel more meaningful than store-bought decorations. Gather your supplies, choose your colors, and let paintable Easter eggs become part of your spring tradition.